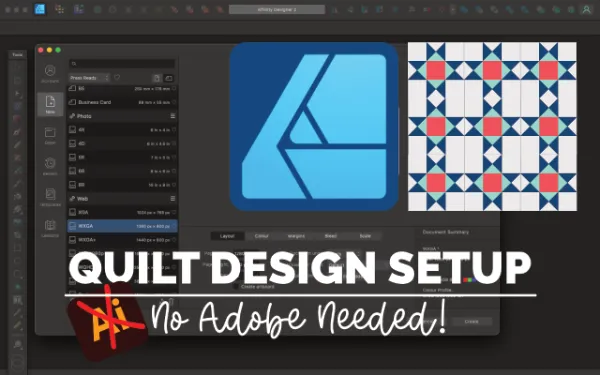
How to Set Up Affinity Designer for Quilt Pattern Design
Part 1 of the Affinity for Quilters Series
Before We Start
When I filmed this video, Affinity Designer was a one-time purchase. Since then, it’s become completely free to use with a Canva login. If you’ve been holding off on using design software for quilt patterns because of the cost, that barrier is gone.
https://www.affinity.studio/get-affinity
Introduction
If you're designing your own quilt patterns and you're ready to move away from Adobe Illustrator or InDesign, Affinity Designer is a strong alternative. It's lightweight, powerful, and now more accessible than ever.
This tutorial is the first in my Affinity for Quilters series. In this blog post and video, I’ll walk you through how to set up your Affinity Designer workspace specifically for quilt pattern design. We’ll cover artboards, grid settings, snapping, tool panels, and saving your setup as a reusable preset.
Watch the Video Tutorial
You can watch the full tutorial here:
Why Affinity Designer for Quilting?
No subscriptions or ongoing costs
Works across Mac, PC, and iPad
Now free with a Canva login
Ideal for block diagrams, quilt layouts, and full pattern mockups
Lightweight and simple to use once your setup is in place
Step-by-Step: Setting Up Affinity Designer for Quilt Pattern Design

1. Create a New Document
Go to File > New
Set Units to Inches
Set DPI to 300
Tick the artboards
Colour mode: CMYK
Create one or more artboards (12" or 12.5" are common quilt block sizes)
Margins and bleed can be left off at this stage
2. Set Up the Tool Panel

Turn on the panels you’ll use most:
Go to Window
Enable the following panels:
Transform
Stroke
Color
Layers
Once your tools are in place, save this layout as a preset:
Go to Window Studio Add Preset…
Name it something like Quilt Studio
This way, you can quickly load your tool layout anytime by going to Window Studio and selecting Quilt Studio.
3. Enable Snapping

Click the magnet icon at the top of the workspace. This will enable snapping, which helps all your shapes and blocks align cleanly. Save this as a snapping preset named something like "Quilt Studio Snapping" so it’s ready to use next time.
4. Set Up a Quilter-Friendly Grid

For accurate quilt design measurements, update the grid settings:
Go to View > Grid and Axis > Advanced
Set Spacing to 1 inch
Set Divisions to 4 (for quarter-inch increments)
Enable Uniform Grid
Save this as a grid preset (e.g. “Quilt Grid – ¼")
5. Save Your Workspace as a Preset
Go to Window > Studio > Add Preset and name it something like “Quilt Studio”. This will remember your panel layout and workspace configuration.
6. Save as a Template
Export your current artboard and settings as a template (for example, “12-inch Quilt Block Setup”). Save it to your computer or cloud storage, and reuse it for future designs.
You’ll be able to select it from File > New > Templates.
Open Right-Hand Tool Panel
When you open a saved template in Affinity Designer, the right-hand panel won’t always appear automatically — but it’s easy to bring back.
To make sure you have the tools you’ll use most often:
If you saved a workspace preset earlier Step 5 (such as “Quilt Studio”), you can also go to
Window > Studio Presets and re-apply it to bring everything back at once.
Next in the Series
Now that your setup is complete, you’re ready to design your first block. In the next post, I’ll walk you through creating a Sawtooth Star block using the tools we just set up.
Subscribe to my youtube to get notified when I post a new video
Want Free Quilt Design Resources?
I’ve created a resource hub full of helpful tools and downloads for modern quilters who want to design smarter. It’s completely free to join.
Click here to Join the Free Quilty Hub
Final Thoughts
With Affinity Designer now available for free, there’s never been a better time to explore digital quilt design. Once your setup is in place, you can reuse it again and again — whether you’re designing one block or a full pattern.
Subscribe to my youtube to get notified when I post a new video
